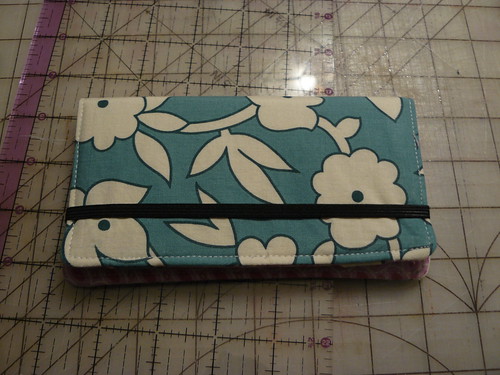
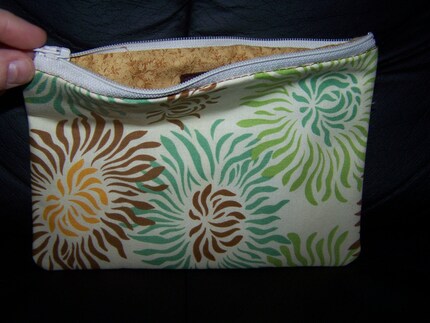
Lately I've had a thing for small purses or pouches. My husband gave me a cute little coin purse for Christmas and ever since then I've wanted to try to make my own. I love having a small pouch in my purse just for change, cards, coupons, receipts or anything!

This tutorial is a great opportunity to practice working with zippers. I didn't think that sewing a zipper would be this easy! This is also a great project to learn some basic skills that can be transferred to other projects. I've already started thinking about some great variations.

Lets begin! Here is what you will need:
exterior fabric-2- 8" x 5.5"
interior fabric -2- 8" x 5.5"
canvas-2- 8" x 5.5"
7" coordinating zipper
coordinating thread
Machine baste the canvas pieces to the exterior pieces. Pin the canvas to the exterior piece with the right side facing up. Using a long stitch and just under 1/4" seam, sew around the edge of the entire edge of the canvas and exterior piece: (Do this for both pieces so that you have 2 nice and thick exterior pieces, then set aside.)

Prepare to sew the interior pieces to the zipper by pinning the zipper to an interior piece with both right sides up. Unzip the zipper approximately 2 inches:

Sew the zipper to the interior piece along the edge that you just pinned. Try to sew pretty close to the zipper. This is a great time to use your zipper foot if you have one. When you reach the zipper head, don't try to sew past it. Instead, stop there with your needle down. Lift the presser foot and slide the head up to where you have already sewn. Be sure to backstitch at each end:

Pin and sew the second interior piece to the zipper. Again, move the zipper head to keep your seam nice and straight. Be sure that the fabric and zipper are both right side up:

You should now have something like this:

Now, take one of your exterior pieces and prepare to sew it to the zipper by pinning it in place: (don't sew it yet!)

Once your pieces are pinned, measure and mark 1/2" in from each end. This time you will sew directly on top of the other seam but only between the two points you just marked. Don't forget to backstitch! Repeat this step for both exterior pieces:

Once you have sewn all the interior and exterior pieces to the zipper you should have something like this:

Next, carefully press all the fabric pieces away from the zipper. Don't even think about skipping this step. See how nice and neat it looks?

Now that everything is so nicely pressed, top stitch along exterior fabric and the zipper. You'll want to do this on both exterior pieces starting and ending at the metal stoppers of the zipper. This picture didn't turn out great but you get the idea:

Pin and sew the right sides of the exterior pieces together. Lift the zipper and lining out of the way. You only want to sew the exterior pieces so be careful not to catch any of the interior. Sew around all three sides of the exterior pieces. Use 1/4" seam allowance so that your seam is just inside the seam you used to baste the canvas and exterior pieces together. Backstitch at each end:

Pin and sew the right sides of the interior pieces together. Leave an opening on one of the sides at least 2 inches long. You will use this opening to turn the purse right side out. Be sure to backstitch around the opening. Sew along all three sides this time catching just the tips of the exterior pieces as you start and finish.

Trim all 4 corners to make them turn nice and neat:

Using the opening you left in the interior seam turn the bag right side out:

Use a simple top stitch to seal up that hole. It should hardly be noticeable once it is tucked inside the bag:

Before you get too excited about your finished product, take some good time to press the seams down nicely. We don't like puffy seams!


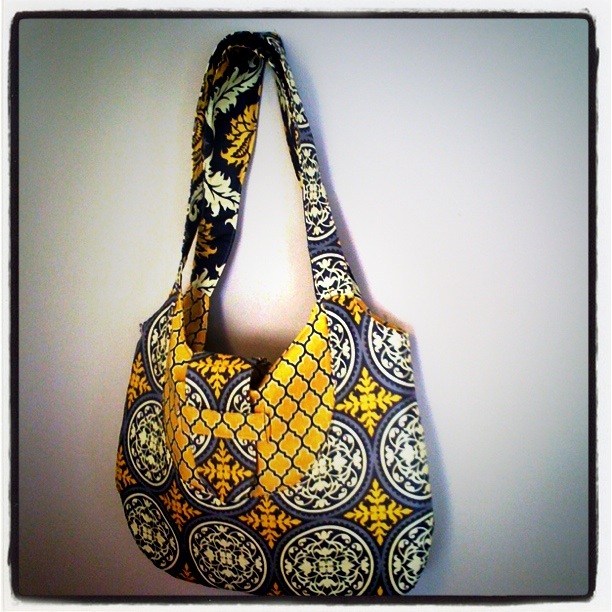


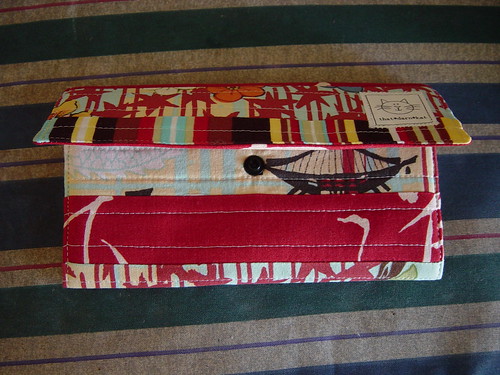


 The fabric pattern is a little busy so you can't see the cute pleats around the band. I really love this fabric but I think I'd choose something different for myself. The bag wasn't too difficult to make but I do have a tip for anyone planning to make the bag. First and FYI, the bag is bit bigger than it looks on the pattern photo. Amy Butler herself is in the photo and she is one tall chica! The main tip is to use fusible interfacing instead of fusible fleece like the pattern calls for. The fusible fleece is really thick and helps the bag hold its form quite well, but I think a really sturdy fusible interfacing would do the job just as well and eliminate some bulk. This was my first time using fusible fleece and I bought exactly what the pattern called for. I'm wondering if there are lighter weights and if so, and light weight fleece might work well too.
 This is a great little bag and the pattern can be adapted in so many different ways. I love basic patterns that I can adapt to my own style. Check back soon! Teaser: I will likely post a giveaway in addition to the tutorial. Would you rather have a kit or a completed bag?